前回まで『ものさす式オフィスのつくり方 (オフィスに出会うまで編、はたらきここち編)』をご紹介してきましたが、今回は先日おこなったオフィスの改装工事のDIYについてお届けします。
このオフィスに引越してきた当初は15名だったモノサスも、現在は70名強。いよいよ席不足が死活問題になってきました。そこで会議室として使っていたエリアをオフィスエリアに改装することに。図面はデザイナーの方に引いてもらい、施工は業者に頼まず、デザイナーの方々を中心に、私たちも参加しながらDIYでやってみることになりました。
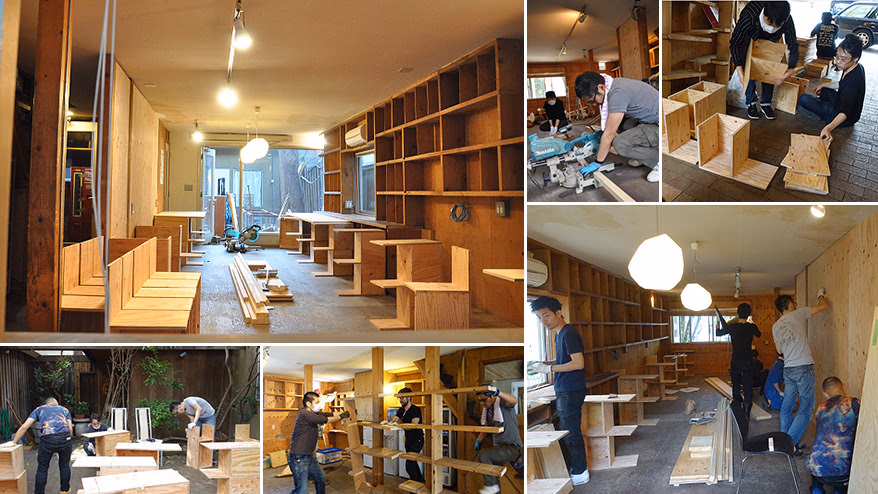
木材に塗料を塗るなんて図工の時間以来、というメンバーをはじめ、ドキドキしながら内装工事に挑戦してみた私たちの「ガチのDIY」の模様を、今回はお伝えしたいと思います。

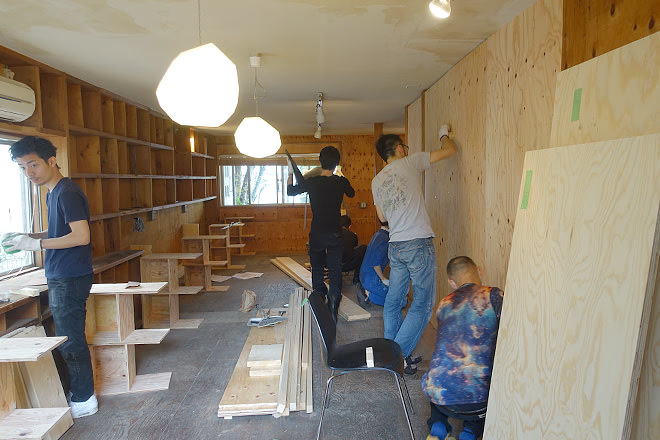
施工前のeast棟1Fの様子。会議室(左)と休憩室(右)だった。
現場は生き物。
設計と現場のすき間をどう埋めるか?
施工は土日を使った二日間。初日のメンバーは、デザイナーの方3名と、有志で集まったモノサスメンバーが10名ほど。事前にデザイナーさんに引いてもらった図面をもとに、施工スタートです。
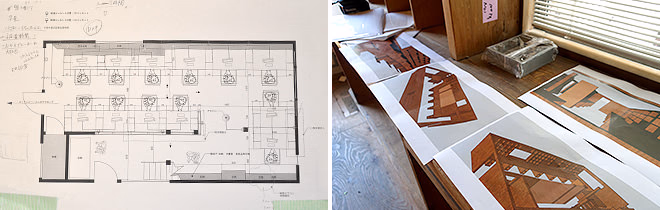
設計図の様子
1日目:解体作業、壁と机の脚づくり
解体
不要な棚や扉を取り外します。床に釘で打ち付けられた棚は取り外しやすいよう電動のこぎりで縦に割り、あとはほとんど力技で床から棚を外していきます。

棚を外すとフローリングの下の床がむき出しに。他と合わせるために新しい板を張り込みます。
壁作り
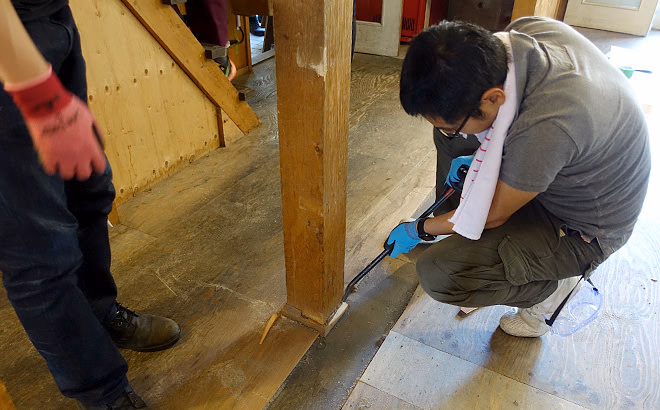
1,柱の巾木を剥がす
柱と柱の間に壁となる板を挟むため、巾木は邪魔です。バールで一面ずつ剥がしていきます。なかなかの力仕事。
2, 壁の骨組みを組み、壁を貼り合わせる
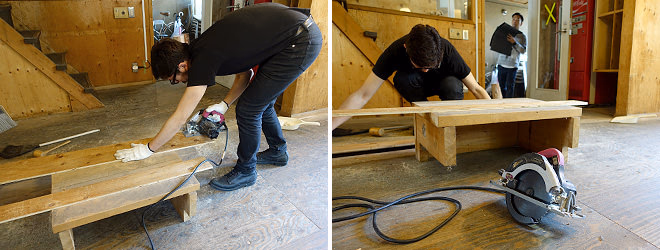
骨組みとなる角材を電動のこぎりでカットします。

壁の骨組み図
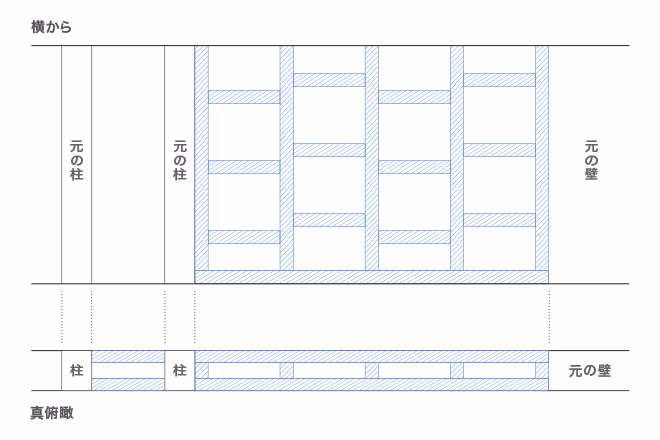
ここで、壁の骨組みが出来上がる前ですが、壁となる板を仮にはめてみました。
問題が発生!
微妙に板の高さが足りないことが発覚しました。
このオフィスは築50年超の木造建築のため、天井や床にゆがみが生じて、場所によって天井高がまちまちだったり、柱と柱の間の幅が上下で異なる箇所があったのです。
木材は現場でカットするのが一般的なようですが、今回は工数の削減や、現場になれないモノサススタッフが参加するなどの理由で自分たちでカットするのは難しいと判断し、あらかじめカットされたものを用意していました。つまり、今あるパーツで工夫するしかありません。
そこで、壁となる板の形の調整を行いました。
天井と床のゆがみ方に合わせて、1枚1枚、調整が必要な壁のサイズを確認。中には、台形に調整しなければならない板も出てきました。切ったりヤスリをかけたり、慎重に形を調整します。
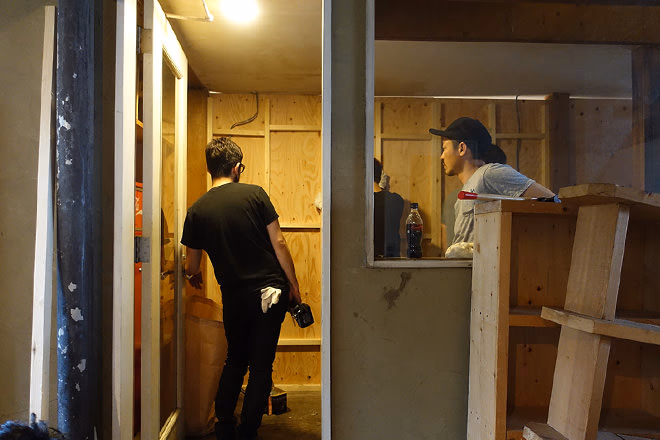
オフィス側の壁を張った状態の裏側。今回組んだ骨組みが見えます
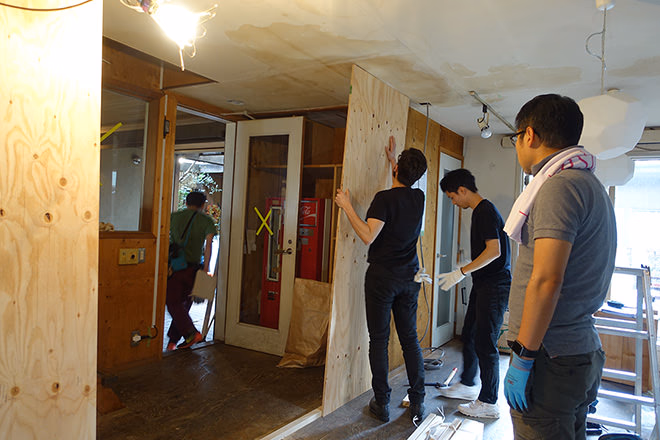
オフィス側と入口側の両方から板を貼りあわせて、骨組みに合わせてビスで止めます。途中ヒヤヒヤするシーンもありましたが、なんとか壁が完成しました!
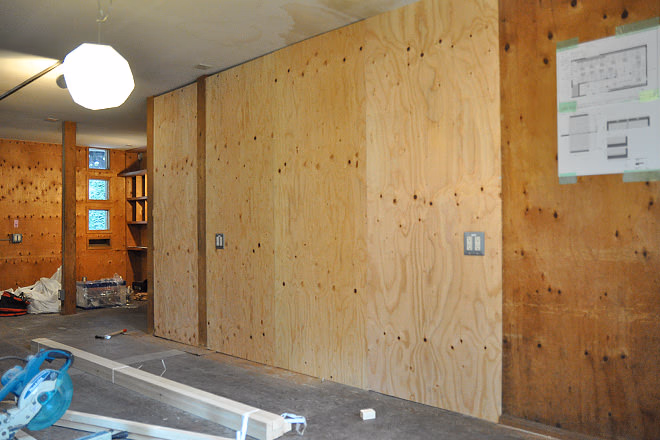
ひとまず壁完成
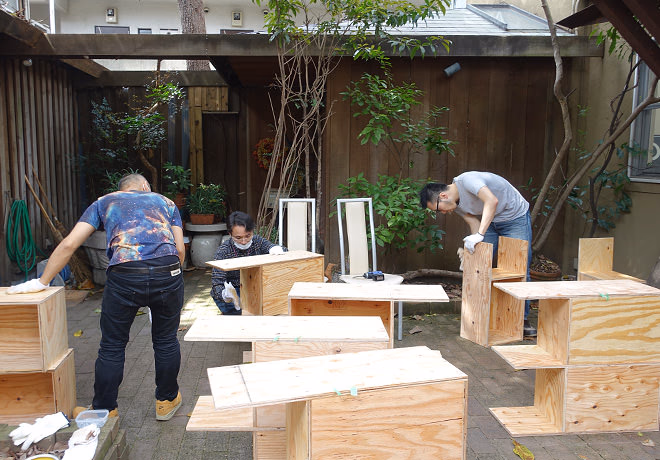
棚脚づくり
壁と並行して、机の脚となる棚を16脚分つくります。
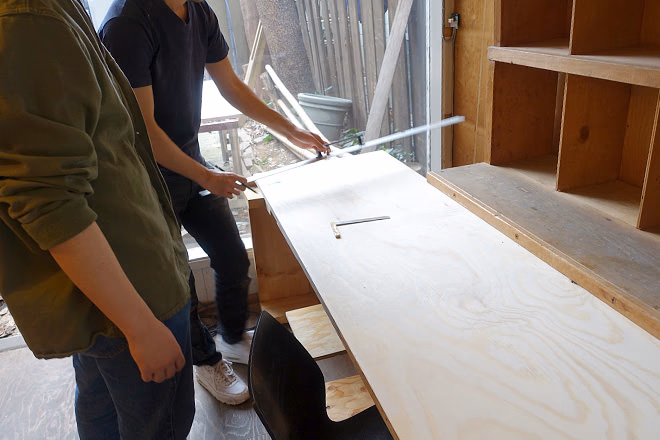
1, 釘を打つめやすをつけるために線をひく
板はあらかじめカットされているので、板を貼り合わせる位置に線を引くところからスタートしました。棚作りは2チームに分かれてそれぞれ作業します。
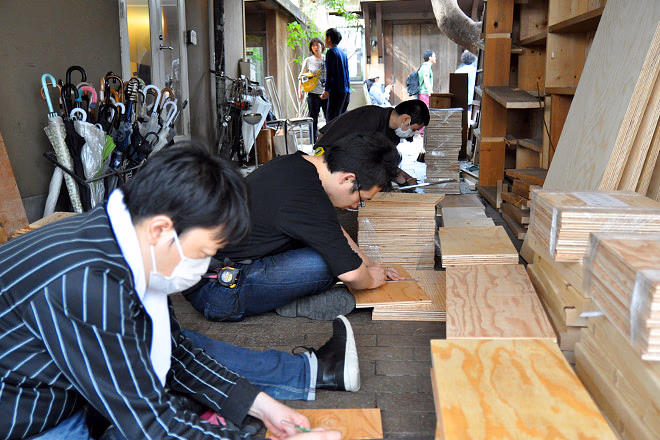
こちらは手前より西城、中川、松嶋チーム
こちらは手前より和田、上村、降旗チーム
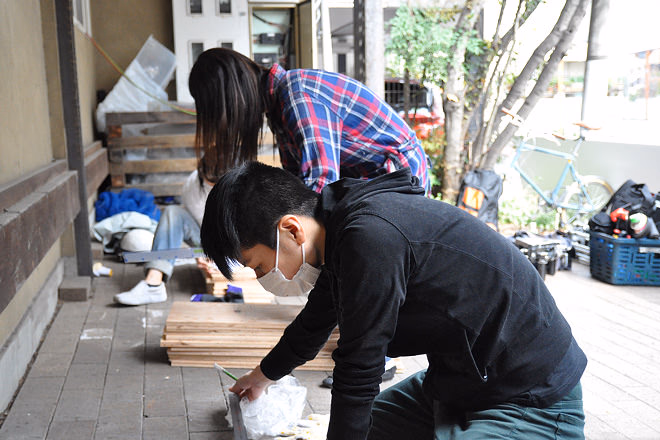
2, 引いた線にあわせて、木材を組み立てる
線に沿って板を木工ボンドで貼り合わせます。ある程度乾いて固定されたら、ドリルでネジ止めします。
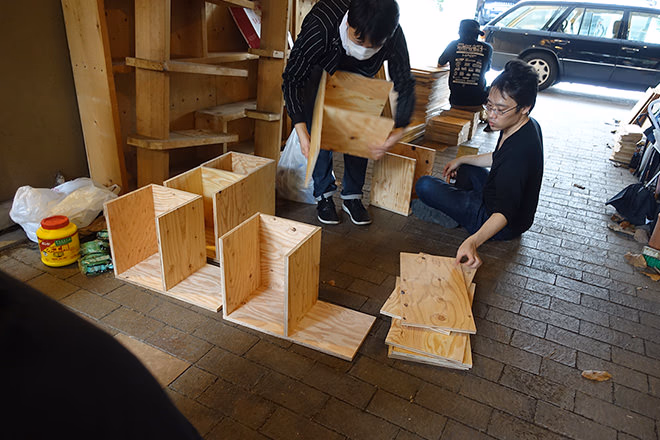
棚は二段です。この日作ったのはパーツとなる1段目のみ(16脚✕2段=32段分)。2つの段を組み合わせるのは明日おこないます。
ずらりとできた脚を仮置きしてみました
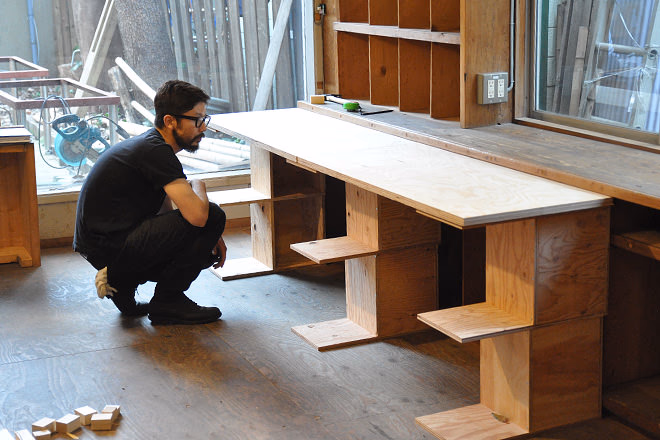
出来た脚と机の板を仮に設置し、サイズを確認中のデザイナーさん
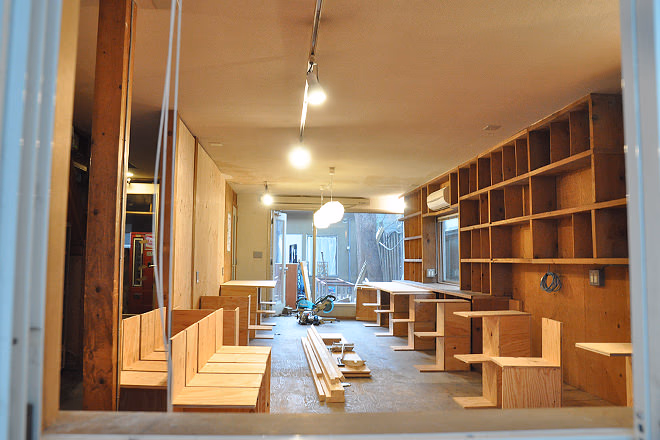
初日はここまで。翌日に続きます!
壁と脚が組み上がったところでこの日はおわり。お疲れ様でした!
2日目:木材の仕上げと机の設置
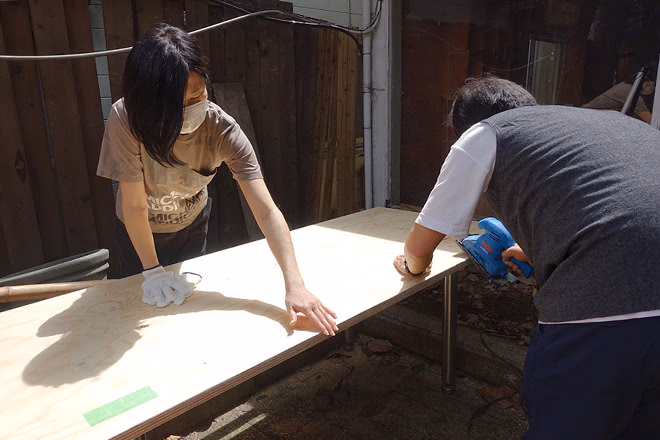
木材の仕上げ:机の板にヤスリをかける
人の手が触れる机の側面と表面をヤスリにかけ、触り心地をなめらかにします。体が当たる側面はグラインダーで角をとります。木材の粉塵がすごいのでマスクは欠かせません。
木材の仕上げ:蜜蝋ぬり
昨日作った棚ひとつひとつに蜜蝋を塗り、コーティング。これを塗ることで木材がしっとりつやつやになります。
棚に蜜蝋を塗り終わったら、今度は壁や机にも塗ります。
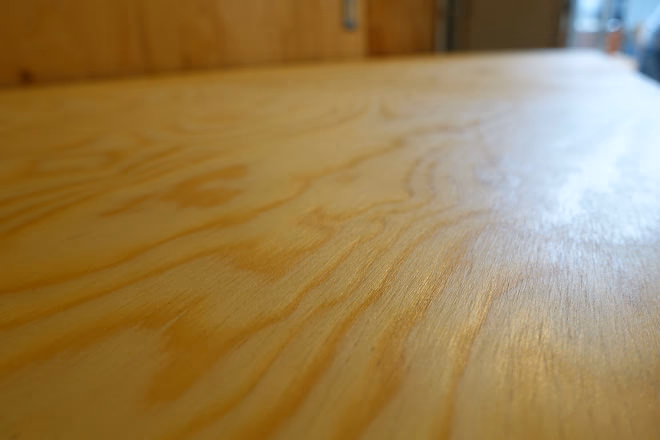
ああ、この輝き・・・うっとりします。
棚脚と机の組み立て
1,前の日つくっておいた脚を二段に組み立てる
そして、ここでも問題が。この棚脚、どうやって接続させる?
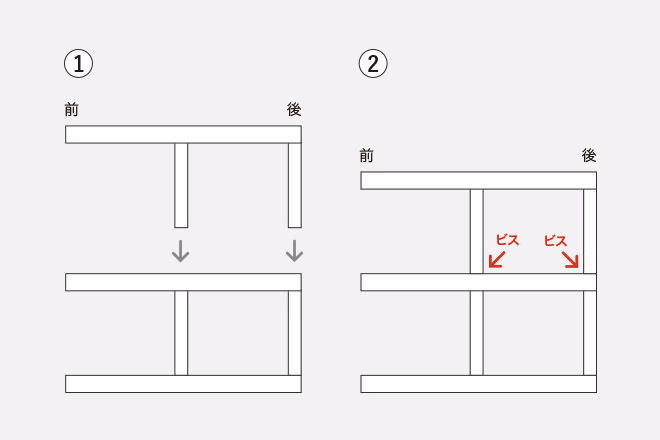
図の(1)のように、上段が下段に上から重なるので、垂直にビスを打てる場所がありません
当初は、上の段を机の板に、下の段を床にビスを打ち付けるので、その間はボンドでつなぐ程度でよいと考えていました。しかし、それだと机に重さが加わった時の強度に問題がありそうなので、脚棚の上段と下段をつなぐ強度をもっと強める必要があると現場で判断。ビスを打とうということになりましたが、構造上、打つ面がありません。そこでデザイナーの方が、ビスを斜めに打って問題を解決してくれました。
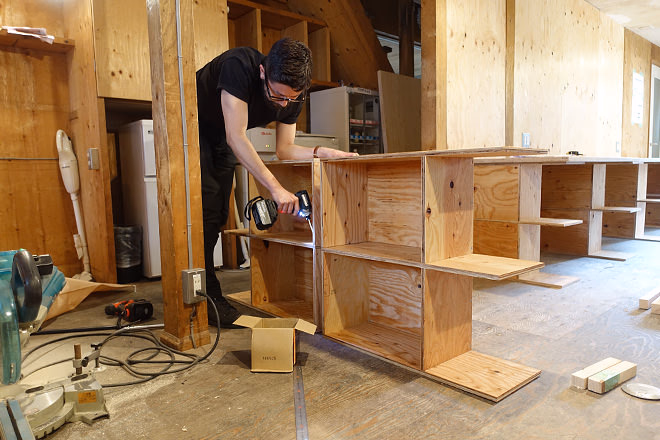
棚脚に斜めにビスを打つデザイナーさん
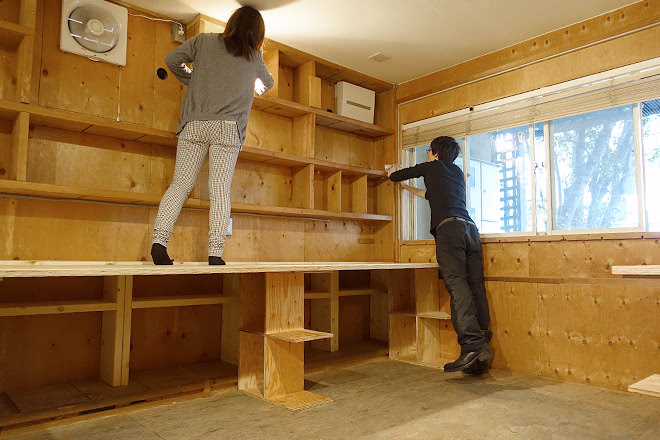
2, 机の天板を設置する
二段にした棚脚をビスで床に固定したら天板を貼り合わせます。一箇所、机の奥行きが足りない部分が。机の天板を手前に合わせるか、奥に合わせるかという話になりましたが、手前に合わせると奥にパソコンのコード用のすき間ができるので調度良いということに。すき間を活かしました。
解体作業、掃除
組み立て作業と同時並行で、解体作業や掃除も進めます。
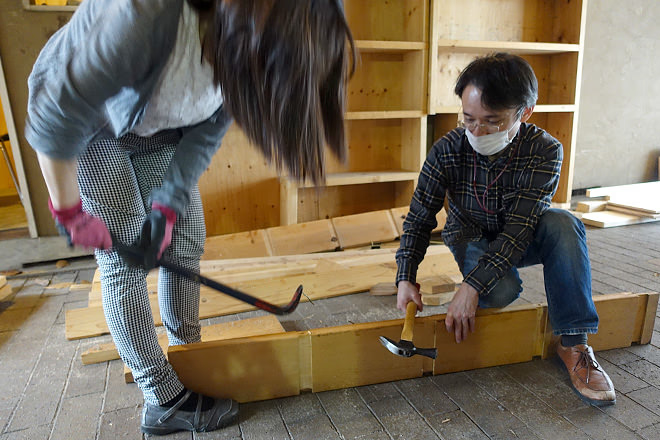
今回取り外した古い棚の解体作業。バールやトンカチを使って釘を抜きます
新しく使う人のために棚を1枚づつ拭き掃除。膨大に壁に取り付けられた棚を拭くのはなかなかの作業です
ようやく完成!
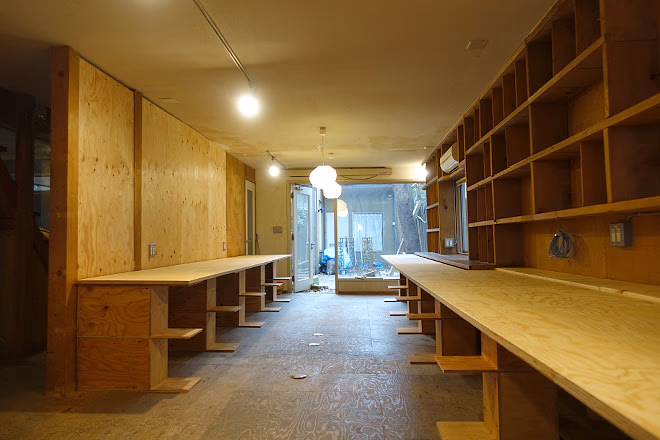
ずらりと並ぶ席は全部で12席
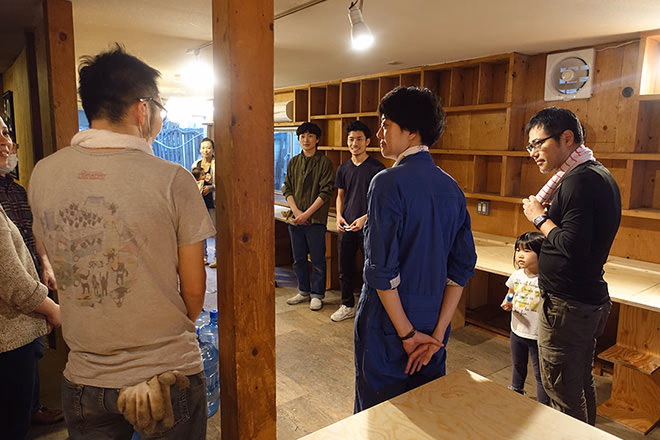
施工後のおつかれさまの挨拶。代表・林の一家もかけつけ、4歳の愛娘・かなえちゃんもしっかりお手伝いしてくれました。
日が暮れる前にギリギリ終わった施工。一時は本当に間に合うのか?とハラハラしましたが、無事完成してほっと一息。みんなでお互いの労をねぎらいました。
DIY、やる前とやった後で変わったこと
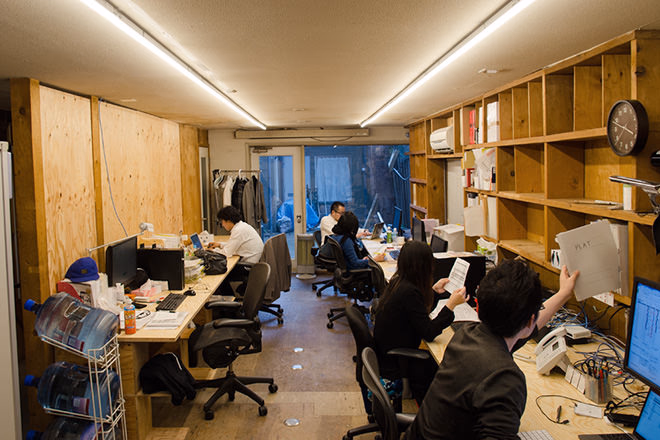
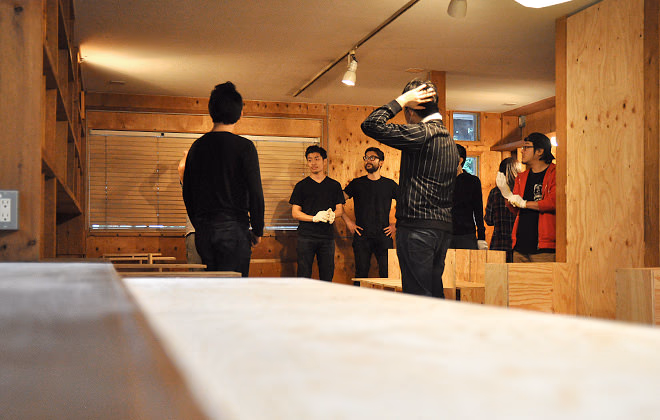
実際にオフィスが使われている様子
内装工事のDIY。メンバーはデザイナーの方々、代表・林とご家族、モノサスの有志たち。日常では手にすることもない工具を使いながら作業しました。
「デザイナーとクライアント」「上司と部下」という関係を超えて、みんなで一緒につくりあげたオフィスです。
代表・林に終わった後の感想を聞くと、
「作った後に物じゃないものが残った」
と言いました。
例えば人間関係。
設計をしていただいたデザイナーさんとの関係も、なにもなければ一般的な「デザイナーとクライアント」の関係で終わっていたかもしれません。けれど、一緒に体を動かしてひとつのものをつくりあげたことで、そこを超えた何かが残ったとのこと。メールのやりとりも、DIYの前と後では心なしか違うようです。
それは社内も同じ。入社早々、今回のDIY に参加した金(キム)はこう言います。
「新しい環境になじむには時間がかかりますが、仕事とはまったく別のことをとおして、会社のことを知ったり、いろんな人と話せたので、モノサスに慣れるきっかけになりました。林さんともあまり話す機会がなかったんですが、DIYをとおして自然にコミュニケーションをとることができました」
最初は「キムさん」と呼んでいた林も、DIYが終わるころには「ドンちゃん(下の名前の愛称)」に、呼び方が変わっていたそう。
また、内装を設計していただいた熊谷晃希さんにも、DIYの前と後で変わったことはないか伺ってみました。
「図面の引き方が変わりました。施工者側の目線を持つようになったというか。現実的に組み上がった後のことをより深く考えて設計するようになりました。
たとえば壁ひとつにしても、強度をあげるために構造のことをしっかり考えないといけない。現場ではその大切さが分かります。
中身があっての外側。表面的な美しさだけではなく、内側の構造の強度があってこそ外側が輝くような、そんな設計を心がけるようになったと思います。」
熊谷さんはデザイナー2年目ですが、設計から施工までとおして自分の手でおこなったのは今回が初めてとのこと。現場から見えてくるさまざまな問題や行程を経験することで、"現実的(リアル)な設計" をより意識するようになった、という言葉が印象的でした。
これは他の仕事でも同じだと思います。
私たちが手がけるWeb制作も、【プランニング → デザイン → コーディング 】の各行程において、自分が担当したものがどう組み上がっていくのか、考える必要があります。たとえば、デザインする時には、それがどうコーディングされるのか意識しながら作り、実際にコーディングされたページが使いやすいか、うまく機能しているか、想定していたものとズレていないか、見届けなければなりません。
今回のDIYでは、オフィスを完成させた満足感だけではなく、新しい人間関係が築かれたり、仕事の気づきがあったり、残ったものは豊かだったようです。
何より、ここまで本格的な "ザ・DIY" はモノサス初。
先ほどのキムも
「こんなに本格的なDIYははじめて。特に電動のこぎりを使えたの楽しかったです。今後は自宅でも何かDIYでつくってみたい」
と言っていました。
さわったことのない電動のこぎりやグラインダーを使ってみたり、建物の施工手順を垣間見たり・・・ワクワクした楽しい体験でした。機会をみつけて今後に活かしてみたいものです。
と、感想をもらす間もなく、来月(5月)には中庭に会議室&コミュニティスペースを増築する予定が。他にも、神山サテライトオフィスのリフォームなど、この先も「ものさす式DIY」は続きそうです。
そちらの模様も、このコーナーでお届けしていきたいと思います。

ものさすサイト事務局
メンバーや関わる人たちといい血行をつくるには?いい仕事をしていくために、関係性を深めるには?を考えながら、モノサスの人や仕事を紹介しています。事務局メンバーはだいたい5人くらい。食べること好き多めです。